I cut out all the big pieces first, using old glass. The top picture gives an idea of the size.
What shows as a stripey section on the pattern is actually a “daisy” pattern. (You can see it in the wings of the Queen of the Night I did a few years ago). These large pieces were salvaged from next door’s bin when they were remodelling their bathroom. I’m guessing that every house in the neighbourhood had this glass in the bathroom, because I had some in the shed when we moved in.
 The main crystal and its chums are shown below in close up to give an idea of their depth in relation to the piece. They’re going to be soldered in last. We’ll elevate the whole window by a few inches by propping it up flat on scrunched-up newspaper, then the crystals can go in centred equally on either side of the piece.
The glass above the crystals is the one bought by mistake by the decorators. It was a piece of interior window glass intended for that little window that sits above the door in the living room. (Not sure what those windows are called … a transom? They don’t open, only there to provide light into the room) The glass has a random horizontal “wind swept” stripe texture, which I’ve cut on the diagonal. I’ve aimed the diagonals up and to the left, to reinforce the way the eye is drawn around the spirals.
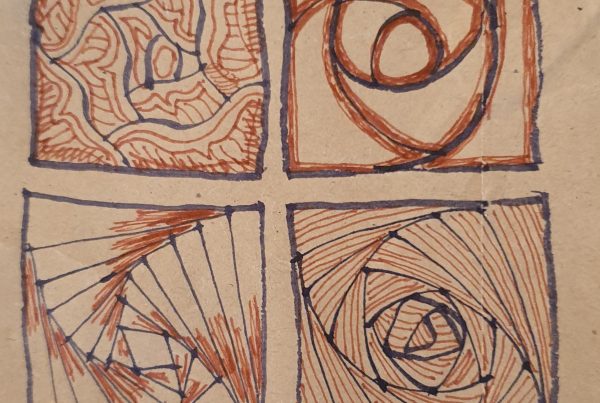
When I was researching designs for this piece, I learned that celtic patterns turn anti-clockwise as a protection against evil spirits. This also makes sense in light of witchcraft rituals that say you should walk “widdershins” around the circle when casting a positive spell. So, to protect my house from ancient celtic evil spirits, will it matter which way it’s installed? Should it be counter-clockwise as viewed from the street where, presumably, the spirits will try to come in? Or do I leave it facing widdershins on the inside, to banish any that manage to get in?